

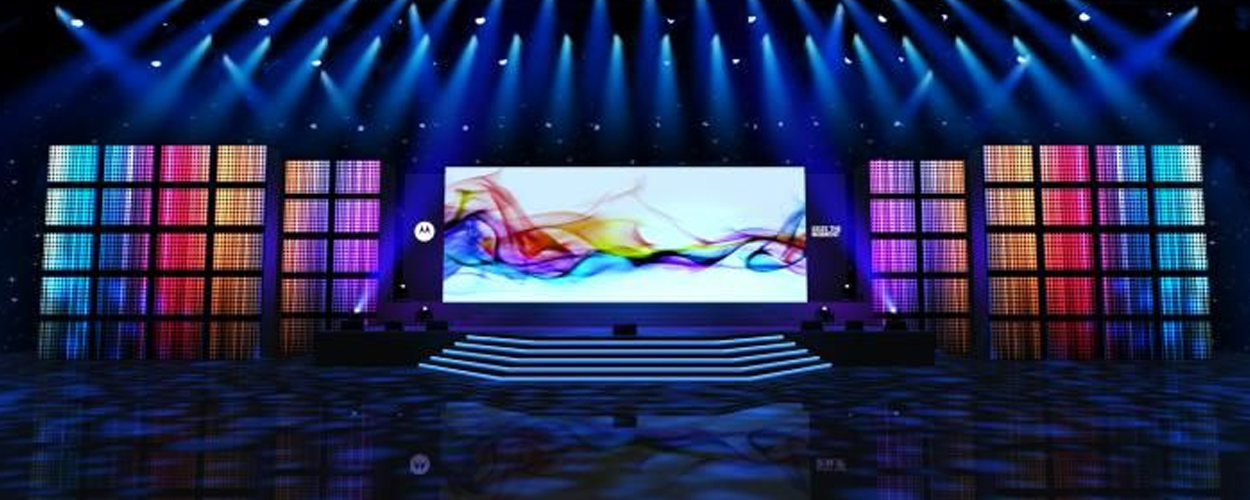
DIY Video Wall: Crafting a Captivating Visual Experience
The continuous evolution of digital screen technology has made creating your own DIY video wall an enticing project. Whether for a home entertainment system or a commercial display, a DIY video wall can offer a captivating visual experience for the audience. This article will walk you through the steps and techniques to craft a DIY video wall using digital screens.

Step 1: Define Goals and Requirements
Before diving into the DIY video wall project, it’s crucial to clearly define your goals and requirements. Determine the number of screens, layout, resolution, and displayed content you desire. This ensures a clear direction for the project, meeting your expectations.
Step 2: Choose Suitable Digital Screens
Choosing the right digital screens is a pivotal step in creating a DIY video wall. Consider factors like screen size, resolution, brightness, and contrast. Ensure the selected screens can meet your needs and seamlessly combine to form a cohesive video wall.
Step 3: Determine Installation Location and Layout
After selecting digital screens, identify the installation location and layout for the video wall. Consider audience sightlines, lighting conditions, and space constraints. Ensure each screen’s position and angle enhance the viewing experience, creating a cohesive overall layout.
Step 4: Prepare Necessary Equipment and Tools
Crafting a DIY video wall requires essential equipment and tools, including mounts, screwdrivers, cables, power supplies, and video processors. Ensure you have everything ready for a smooth installation and debugging process.
Step 5: Install Digital Screens and Debug
Follow the manufacturer’s installation instructions to install digital screens and connect necessary cables and power sources. Subsequently, use a video processor to debug each screen, ensuring consistent display quality and seamless operation of the entire video wall.
Step 6: Configure Content and Control System

Once screens are installed and debugged, configure content and the control system. This may involve connecting a media player or computer to ensure the video wall displays your desired content. Set up a convenient control system for easy content management.
Step 7: Regular Maintenance and Updates
Maintenance is key to ensuring the long-term stability of the video wall. Regularly check the status of each digital screen, ensuring there are no faults or damages. Additionally, timely software and content updates keep the video wall fresh and appealing.
Step 8: Consider Borders and Decorations
To enhance the professional and neat appearance of your DIY video wall, consider adding borders and decorations. Borders help separate screen spaces, providing a clear look for the entire video wall. Decorative elements, such as custom panels, lighting effects, or art decor, can make the video wall a focal point in the space.
Step 9: Think About Audio Systems
If your video wall requires audio support, consider suitable audio systems. This may involve external speakers, audio interfaces, or connecting to a digital screen with integrated audio capabilities. Ensure audio and video sync for a more complete viewing experience.
Step 10: Adjust Color and Brightness
After installing the video wall, adjusting color and brightness is crucial for optimal visual effects. Use professional calibration tools or built-in adjustment features to ensure consistent color and moderate brightness for each screen, preventing visual discrepancies.
Step 11: Explore Remote Control and Automation
For convenient management and control of the DIY video wall, consider adding remote control and automation features. Utilize smart home systems or specialized video wall control software to remotely adjust content, brightness, volume, and other parameters, enhancing convenience and flexibility.
Step 12: Learn Maintenance and Troubleshooting Techniques
Learning maintenance and troubleshooting techniques is crucial for the long-term stability of your DIY video wall. Understand solutions to common problems, perform regular screen surface cleanings, and ensure good ventilation to effectively extend the lifespan of digital screens and reduce maintenance costs.
By following these steps, you’ll be able to successfully create an impressive DIY video wall. This project not only adds a modern touch to your home or commercial space but also provides a captivating visual experience that leaves a lasting impression on your audience. Throughout the process, remember to creatively apply your ideas and make your DIY video wall uniquely yours.
Post time: Nov-21-2023